Regardless of whether you are a beekeeper as a hobby or as a full-time profession, I am sure that you love honey and get excited when you get to harvest your honey and see that liquid gold flow 🙂 However, alongside all that excitement you should do some key things when harvesting honey. One of them is making sure that you remove all of the different impurities that it may have. With that in mind, how do you use a honey sieve to properly clean your honey?
Construct a strainer using a sieve over a large pot that is supposed to contain the strained honey. Drape a cheesecloth on the sieve to strain the smaller debris and impurities. Place a square of wire mesh on top of the sieve. From there, pour the honey over the mesh, cheesecloth, and sieve and into the pot.
Knowing how to properly use a honey sieve is an important part of being a beekeeper, simply because this is how you make sure that your honey is as clean and as free from impurities as possible. After all, people will be consuming the honey you harvest. Without further ado, let us get to know more about how to use a honey sieve.
How do you sieve honey?
When you are an experienced and productive beekeeper, you have usually worked out that buying good equipment is an essential part of the process. However, when you are new to the hobby (or business) you may flinch at the idea of investing money in expensive tools to go with it. The kind of tools we are talking about include honey extractors, which can end up costing you hundreds of dollars to get a good one. Do you really need one?
That depends. A honey extractor tends to be one of the tools that are at the bottom of a small-scale beekeeper’s list because of how expensive it is and how it might not seem to be the most important piece of equipment needed. After all, there are more than a few ways for you to extract your honey the right way without the use of a honey extractor, which can easily add hundreds of dollars to your initial investment.
Without a doubt, using an extractor is the best and cleanest way for you to harvest your honey, but it can be pretty expensive. That said, how do you extract honey without the use of a honey extractor? You can do so by using a sieve, of course! And how do you use a sieve to extract honey?
So, if you want to extract liquid honey and not use cut comb honey, which is honey in its comb form, you would have to make sure that you use what we call the crush and strain method. This is the cheapest yet still effective way for you to extract your honey by making use of a strainer or a sieve instead of using a honey extractor. Of course, by using this method, you will be able to save a lot of money but still end up with pure honey that is clean and sanitary. Sound good?
For those who are wondering how to do the crush and strain method, here is how you do it:
- Harvest your fresh honeycomb from the honey supers or frames you collected from your beehives. While honeycomb can be edible and is great to use for a lot of different dishes, it still is a good idea to clean your honey if you want it in its liquid form.
- Mash the honeycomb in a clean container to reduce the volume. You will notice how quickly the large honeycomb has turned into a mashed mixture. Using a potato masher can be a good way for you to mash your honeycomb pieces. From there, it is now time to strain your honey by making use of a honey sieve.
- The first thing you need to do when straining your honey is to construct the strainer first. There are four things you will be needing here: a honey sieve or any ordinary sieve you can find at home, some cheesecloth, a wire mesh, and a large pot.
- To construct a strainer that will surely get all of the impurities out of your honey and leave you with that golden liquid form that is free from any debris, you will need to place the sieve over the pot.
- After that, place a cheesecloth on your sieve. Make sure that it covers the entire sieve while leaving excess cloth hanging over the sides of the sieve. By doing so, you are ensuring that all of the crushed honey gets through the cheesecloth before it passes through the sieve.
- After placing the cheesecloth over the sieve, place a wire mesh over the sieve. The wire mesh will act as the first line of defense against the debris and impurities in your crushed honey so that, when the crushed honey passes through the wire mesh and makes its way to the cheesecloth and sieve, the larger debris has already been filtered by the wire mesh.
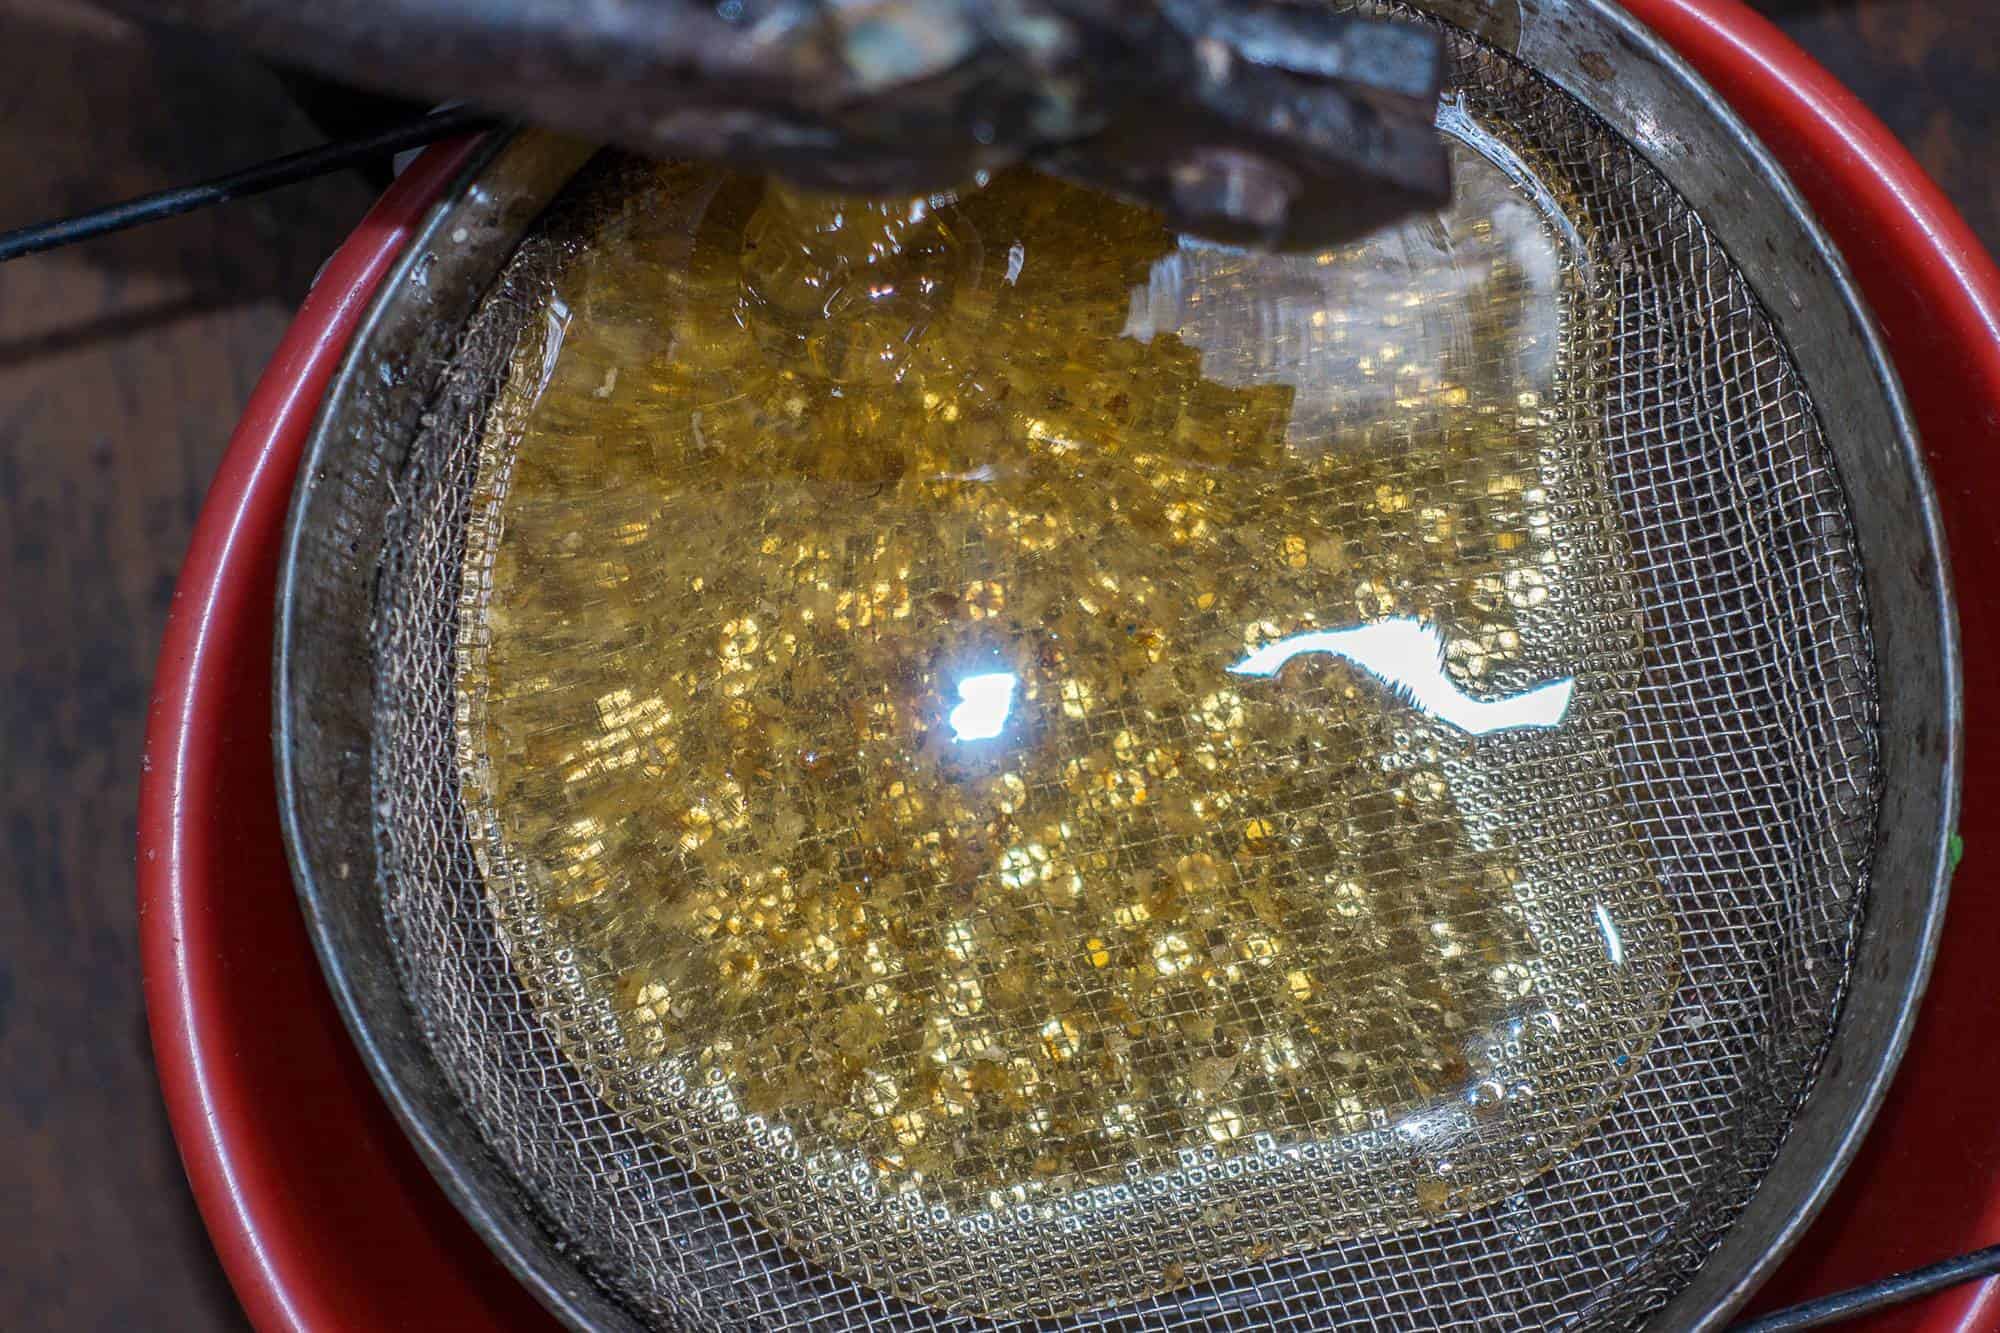
- When you are done constructing your makeshift honey strainer, it is now time for you to strain your honey. Pour all of your crushed honey onto the wire mesh and make sure that it passes through the mesh before it gets to the cheesecloth and sieve combination. The larger bits should get caught on the wire mesh.
- The filtered honey should already be in the cheesecloth, which further filters the smaller bits and pieces from the liquid honey, which will pass through the sieve. Your honey sieve should be the final layer of filtration in this makeshift system, as any of the bits and pieces that may have made their way through the cheesecloth should be filtered in the sieve.
- From there, cover the pot of honey with a towel and allow it to sit for a few days without touching it. You will see any air bubbles, which are excess moisture, making their way to the top of the liquid honey. You can remove those air bubbles and skim them from your honey by using a spoon.
- If you still have some crushed honeycomb, repeat the process as necessary, but with a new pot and fresh cheesecloth. Remove any large bits from the wire mesh as well.
As can see, when you are using a honey sieve (using the crush and strain method), you are actually using a three-part filtration system that will allow you to clean your honey well enough and remove any bits and impurities similar to how a honey extractor does. That way, you can be sure that your honey is as clean as it should be and is left without any debris that can ruin the quality of the liquid honey. All for a much less price of admission than ‘that expensive machine’ 🙂
How do you clean a honey sieve?
So, from the makeshift honey strainer that we have just discussed, you can see that we have three components there: the wire mesh, the cheesecloth, and the honey sieve itself. Every time after using our honey strainer, it is important for you to clean it up after, or else bacteria can end up festering on the strainer.
Cleaning the wire mesh is easy because all you have to do is to remove the large pieces that it collected while you were straining your honey. After that, you can wash it with water but make sure that you allow the holes to pass through running water to push out any debris that may be stuck there.
Meanwhile, cheesecloth is disposable. When the cheesecloth gets clogged while you are straining your honey, throw it away and replace it with a new one. It’s as easy as that, and you don’t even have to clean it after.
The honey sieve may be the toughest one to clean here because its holes tend to be smaller than the ones on the wire mesh. However, the best way for you to clean it is to allow running water to pass through the underside of the honey sieve instead of from the upper side. This will allow you to push any bits of honey out of the tiny holes on the honey sieve.
After allowing running water to pass through all of the tiny holes, go get a toothbrush that will scrape off any of the excess honey that may be stuck in the holes. Honey, once it crystallizes, can be pretty difficult to remove, and that is why using a toothbrush can be an effective way of removing crystallized honey in the tiny holes of a honey sieve instead of using a sponge.
For ultimate cleaning power we recommend that you use a stainless-steel brush because of how it is more effective at scraping off bits of honey that may have hardened. Using an old toothbrush may not be as effective as a stainless-steel brush because the bristles are softer.
After that, pat the honey sieve dry using a paper towel or a piece of cloth. Air-dry your honey sieve in an area with a lot of airflow to remove any excess moisture. From there, it is safe to store your honey sieve before using it again to strain your honey after your next harvest.
Sources:
https://www.beesource.com/threads/sieving-honey.350229/
https://sciencing.com/strain-store-honey-beehive-5865329.html
https://practicalselfreliance.com/extracting-honey/
https://www.instructables.com/Extracting-Honey-on-the-Cheap/