Beekeeping can be a fun and profitable hobby, but you need to have the right land to do it. In this article, we will help you find the best land for beekeeping. You may think this sounds simple, but if you get this step wrong, you may not see the best results from your beekeeping efforts.
Step 1: Decide How Much Land You Need
How much land do you need for beekeeping? Well, how long is a piece of string?
Many people like to ask questions such as ‘how many beehives can an acre accommodate?‘, but there is no simple answer. A hive itself will typically take up a space of around 20 inches by 24 inches. A typical bee will scout out a 2-3 mile radius to get nectar, so you need to make sure you have enough nectar in the surrounding area to support the number of beehives you have. Think about this…. 2-3 million flowers are needed to make a pound of honey. And, when conditions are good, many colonies will make upwards of 100 lbs.
So how many beehives can an acre accommodate? As many as the surrounding nectar can support. If you overload an area with beehives that don’t have enough sources of nectar, you are not going to get the honey flow you desire.
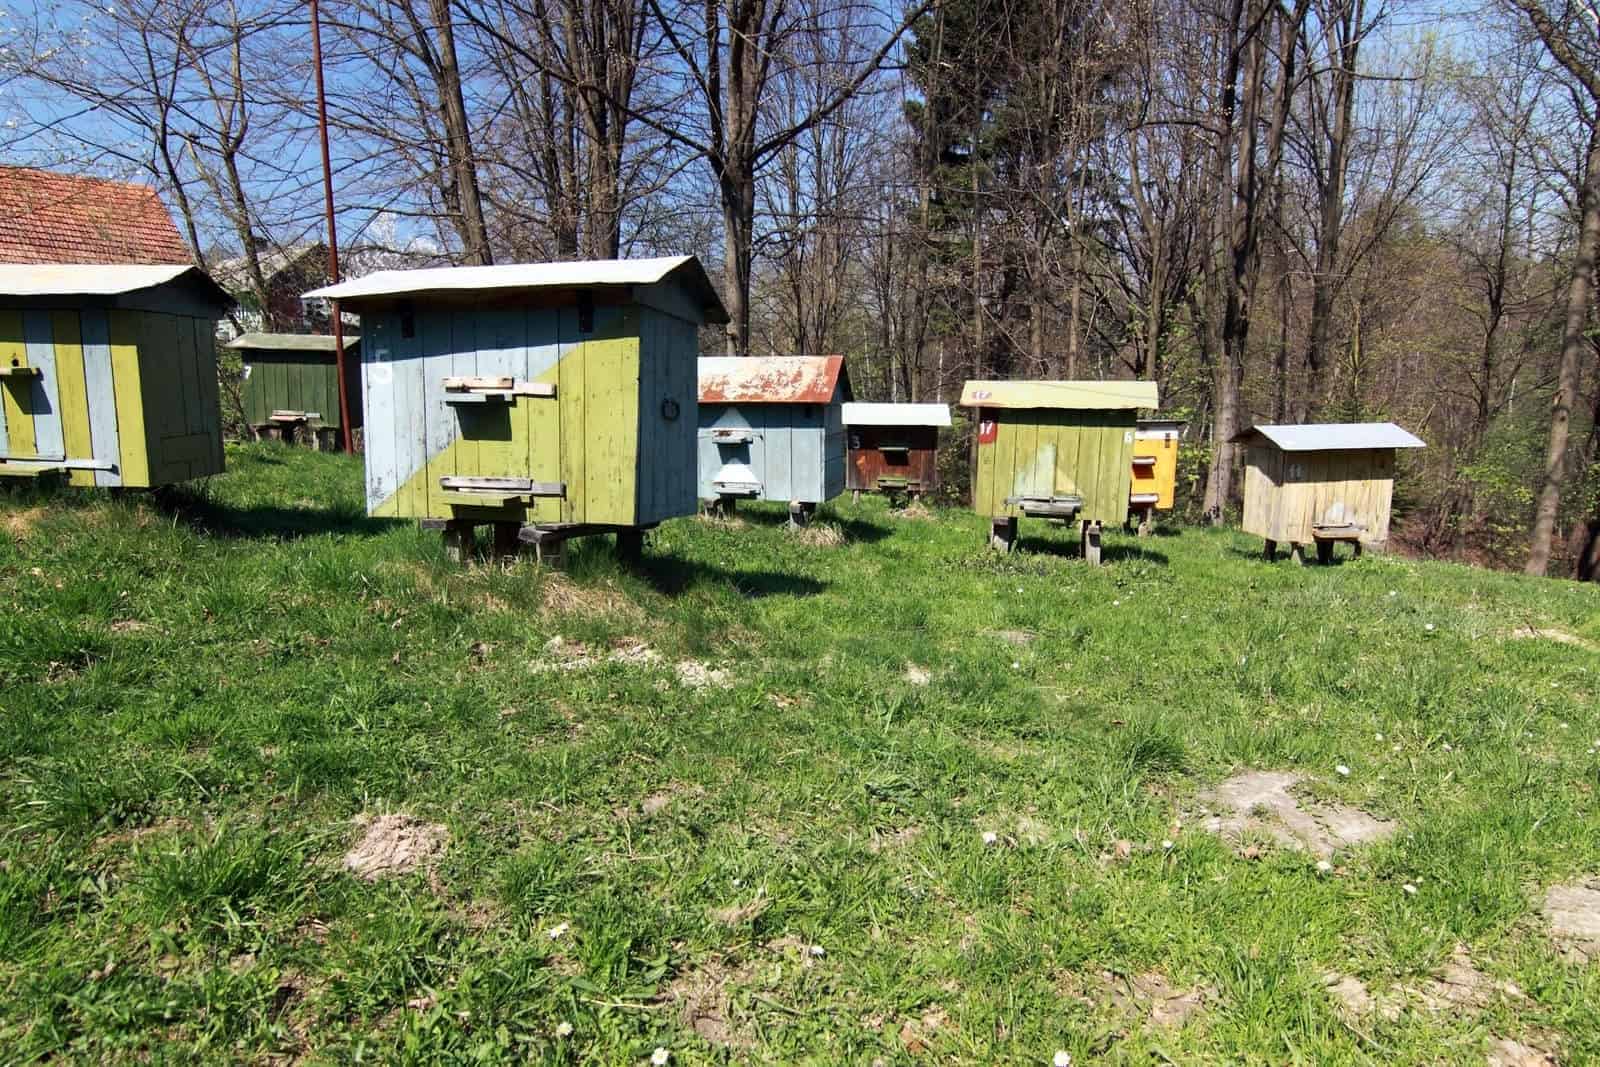
Bees can live in crowded conditions, just look at those urban beekeepers that can keep hives on rooftops! However, when planning out beehives in an apiary, you should always leave enough space around each hive to enable you to cut the grass around them and keep the area clean. Otherwise, mites and other unwanted critters will be more likely to take up residence in your hives.
Beehives that have some space between them are also better for you as a beekeeper to work on, so keep that in mind too when deciding on the amount of space you need.
Step 2: Get Creative
When trying to find space for your beehives, you need to think outside the box. Do you have an old outhouse or garage that no one uses that you could knock down to provide space for bees? Do you have a friend or a family member that has spare land or space they would be willing to give up for your new apiary? Some free jars of raw honey would go a long way to encouraging that 🙂
Step 3: Find a Suitable Location for your beehives
The next step in starting a beekeeping operation is finding a suitable location for your beehives on this land. Here are some of the factors you should take into consideration.
You’ll need a spot that gets plenty of sun and isn’t prone to flooding. Dry is good when it comes to bees!
Bees like to draw out their comb perpendicular to the ground, so flat and level ground is important. This also makes it more stable when you are inspecting and working on your hives.
If you live in a particularly cold climate, think about having nearby windbreaks that will make those Winters easier for your bees to put up with! Although there still needs to be some ventilation and air flow in the area, as bees don’t like stagnant and damp places either!
To gain six feet of altitude from the moment they exit the hive entrance, bees need to pick up momentum over about six feet of linear distance. So try not to place beehives very close to tall objects such as houses, as you will be restricting the foraging patterns of your bees.
A clean water source should be no more than 50 feet away from your hives. If your bees have to travel further for water, they will be eating into their valuable foraging time!
Step 4: Make Sure the Land is Bee-Friendly
Before you purchase land, you’ll want to make sure that it is bee-friendly. There are a few things you can look for to determine if a property is hospitable to bees. The first thing to look for is an abundance of flowering plants. Bees need nectar and pollen to survive, so a property with plenty of flowering plants is ideal.
You’ll also want to look for a variety of different plant species. This will ensure that the bees have a variety of pollen and nectar to choose from at different times during the season. This is also good to support the wild bees alongside your honey bees.
Large patches of flowers attract honeybees too; plant them in areas that are at least 3 by 3 feet in length.
Try to reduce lawn or grassy areas to allow more space for more flowering plants useful to bees. Weeds can be useful to bees too, so be sure to allow some ‘wild spots’ within your apiary.
Ideally, you would want to give them a 2-3 mile radius of chemical free flowers to enjoy. That would mean no pesticides or other chemicals being used on these plants.
Step 5: Check for Hazards
Now that you have assessed the situation and determined that you can safely proceed, it is time to check for hazards. This includes looking for things like trip hazards, electrical hazards and, in some unfortunate cases, chemical spills. No beekeeper wants to work in an unsafe environment. Check the space out fully and make sure it would be easy to work in accident free!
Step 6: Talk to Neighbors
Before going all out in building your new apiary, make sure to talk to any neighbours within a 2-3 mile range of your potential beehives spots. Let them know what you are planning to make sure they agree. Nothing worse than disgruntled neighbors forcing you to go back to square one when you are already in full swing!
Step 6: Check Local Laws
As the final step, make sure that you are in compliance with any local laws that may be in placearound beekeeping. If you are not sure about these, you should contact your local government office and your local bee club. Both places should bring you up to speed quickly!
Beekeeping can be a fun and profitable hobby, but you need to have the right land to do it. By following the steps in this article, you can find the best land for beekeeping.


